

👆 At first glance, a TON Site may seem complicated. But in practice, setting it up is totally doable: a domain, proxy, website, and linking — just a few stages.
🏁 We’ve prepared a step-by-step guide in the cards — from server setup to domain linking. Everything is as simple and clear as possible. Launch your site in Web 3.0 and share the results.
Thanks to @rece2021 and the community members for their help and experience, which we used to create this post.
🔣 Full list of commands 🔣
1️⃣ Connect to the server (SSH)ssh root@IP
# if the port is not 22:ssh -p 2222 root@IP
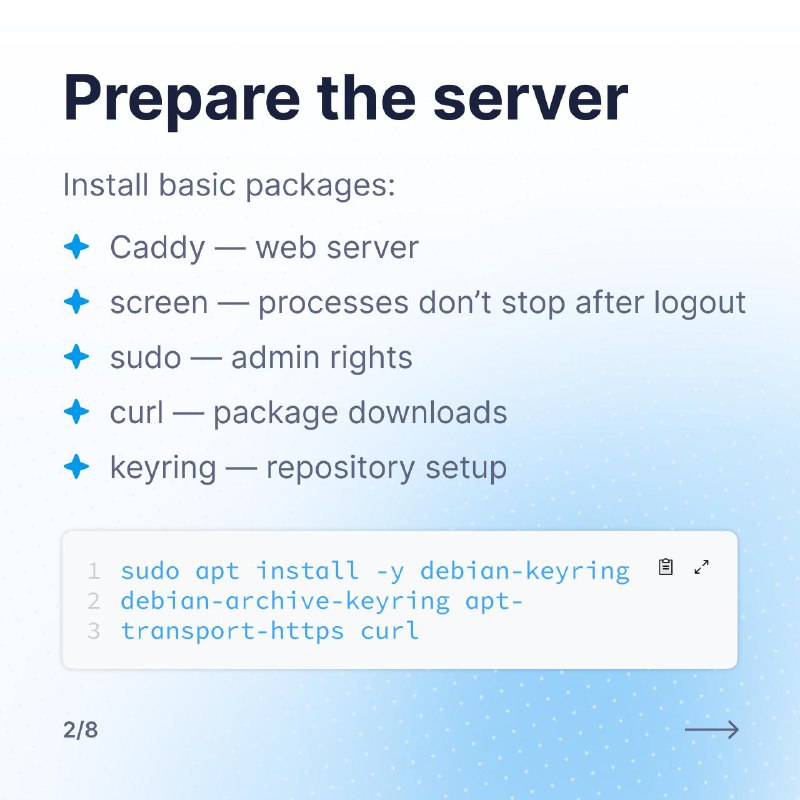
2️⃣ Install required packagesapt update
apt install -y sudo screen
sudo apt install -y debian-keyring debian-archive-keyring apt-transport-https curl
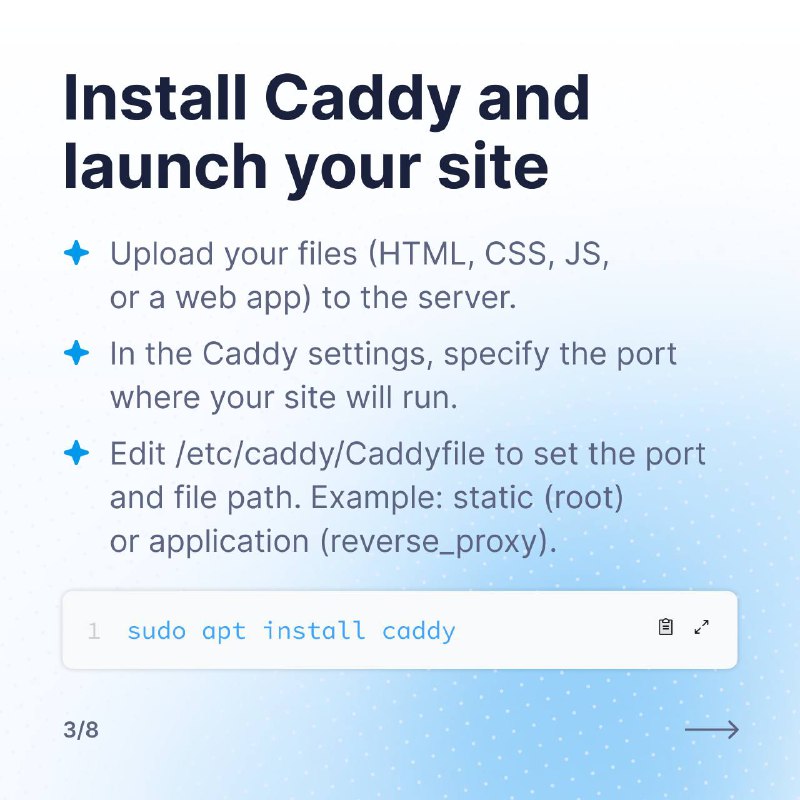
3️⃣ Install Caddysudo apt install caddy
4️⃣ Deploy your siteUpdate the Caddy config (/etc/caddy/Caddyfile), specifying the port instead of a domain, for example:
:80 {
root * /var/www/mysite
file_manager
}
# or
:3080 {
reverse_proxy localhost:3000
}
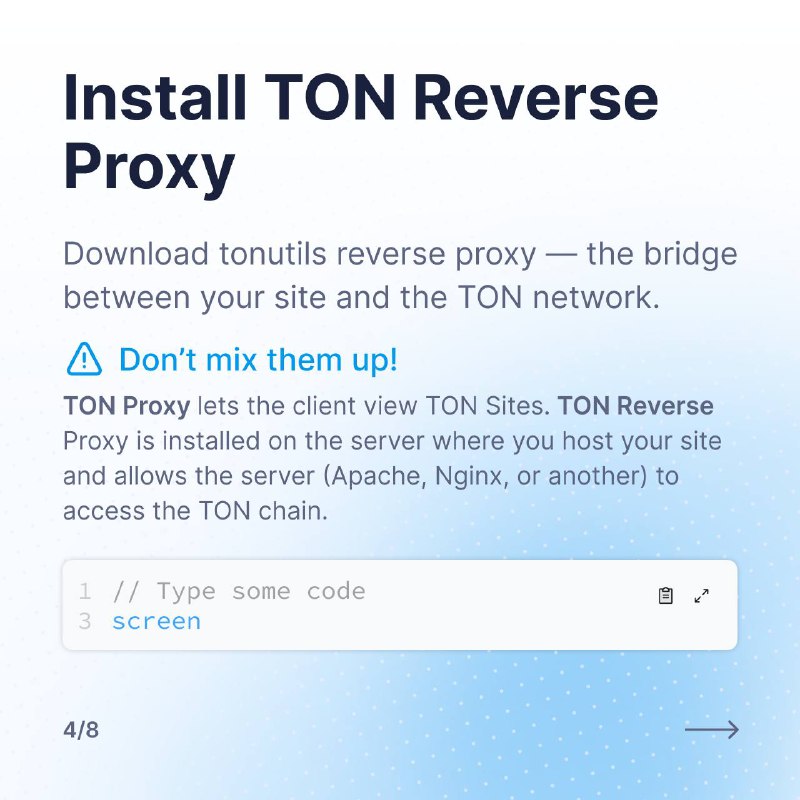
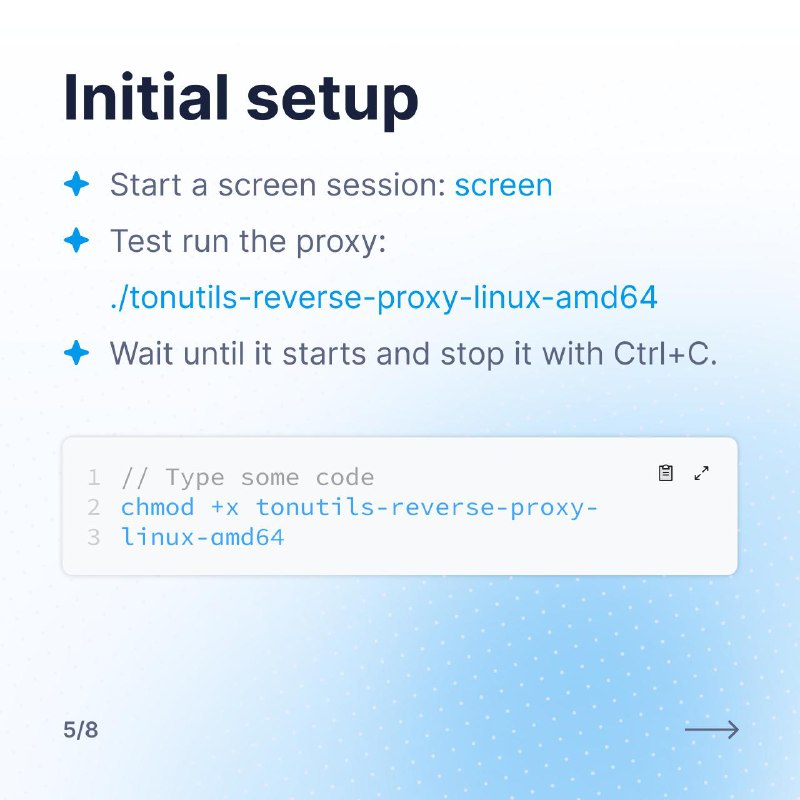
5️⃣ Start screen sessionscreen
6️⃣ Install TON Proxywget https://github.com/tonutils/reverse-proxy/releases/latest/download/tonutils-reverse-proxy-linux-amd64
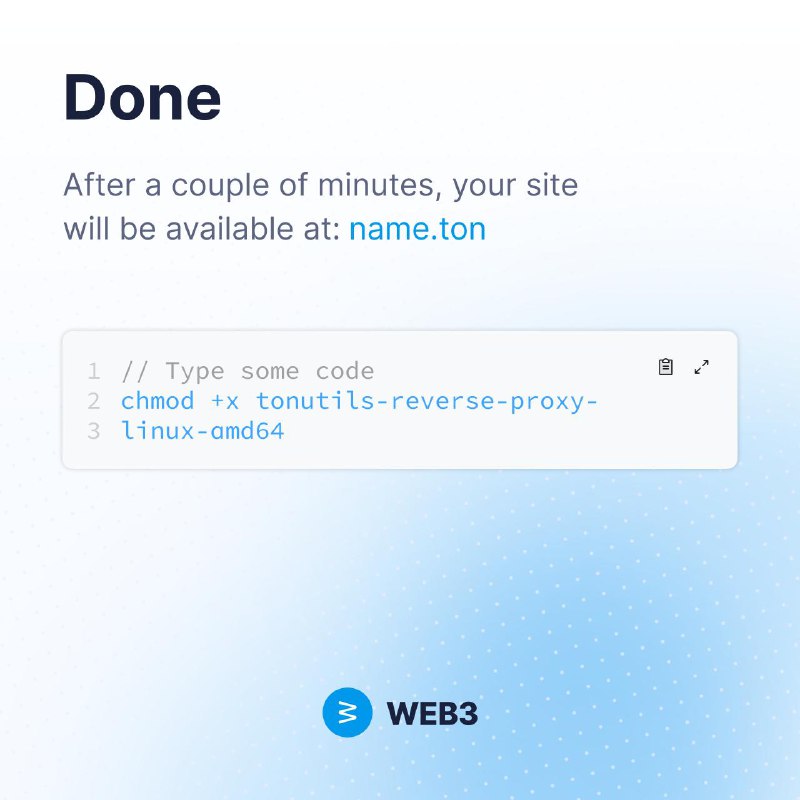
chmod +x tonutils-reverse-proxy-linux-amd64
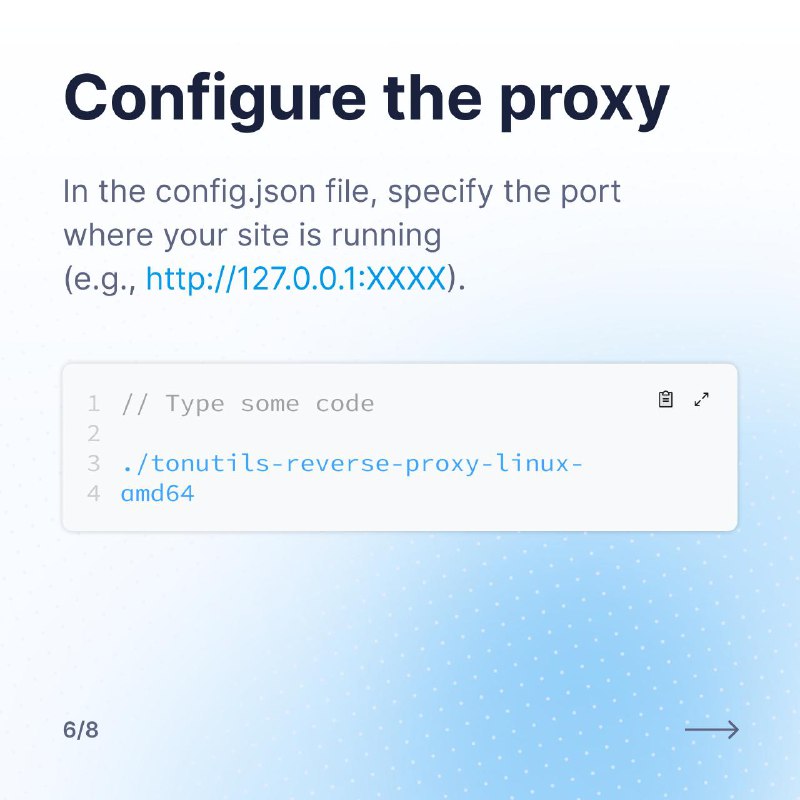
7️⃣ Run TON Proxy (first time)./tonutils-reverse-proxy-linux-amd64
(After this, a config.json file will appear.)
8️⃣ Configure config.json
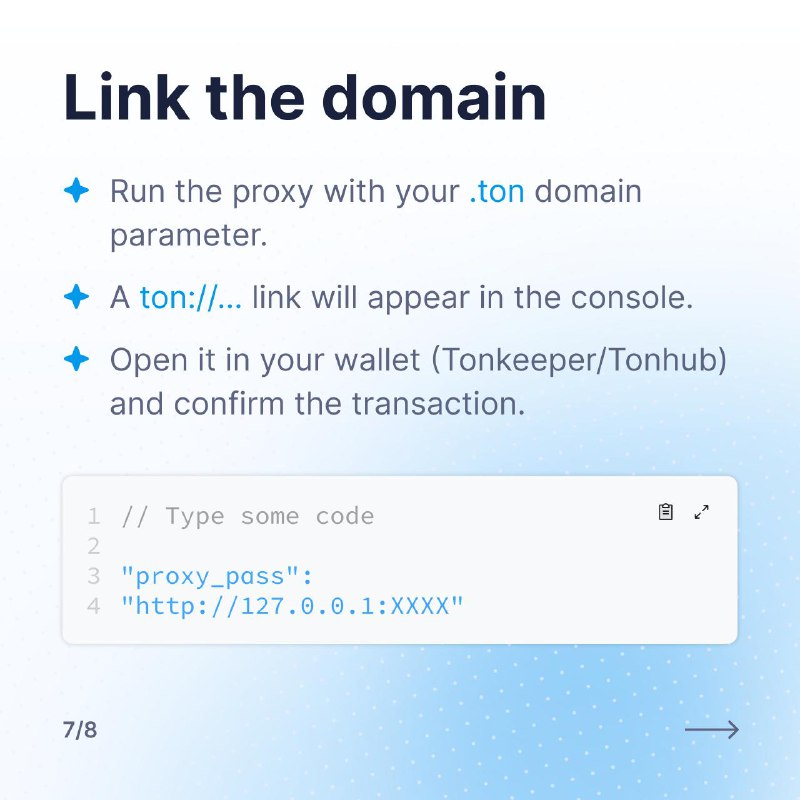
Open the file and replace the line:"proxy_pass": "http://127.0.0.1:XXXX"
Replace XXXX with your site’s port.
9️⃣ Launch with domain./tonutils-reverse-proxy-linux-amd64 --domainyourdomain.ton-tx-url
After that, a ton://... link will appear → open it in Tonkeeper/Tonhub and confirm the transaction.