
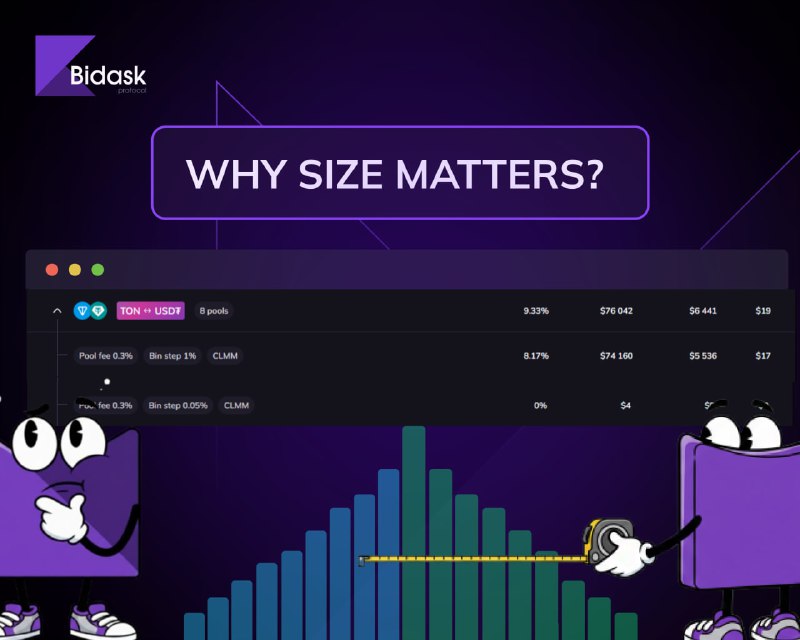
If you’ve ever created a pool on Bidask or explored liquidity settings, you’ve likely encountered the Bin Step parameter. To many, it’s just "some number," but in reality, it is the primary lever for managing your yield and capital efficiency.
Let’s break down what it is using simple examples.
🔘 What is Bin Step?
Imagine a price chart as a staircase. Bin Step is the distance between the "steps" (price intervals) where your liquidity resides.
In the DLMM (Discrete Liquidity Market Maker) architecture, all liquidity is distributed across bins. The Bin Step defines the price percentage change between the boundaries of neighboring bins.
🔘 How does it affect farming?
For your convenience, the Bidask interface offers three optimal presets:
0.05% (For Stable Pairs)
Ideal for USDT/USDC or stTON/TON. Here, liquidity is hyper-concentrated. This provides traders with the best prices and earns you maximum commissions with minimal price fluctuations.
1% (For Standard Pairs)
The "gold standard" for most assets on the TON network. This allows your position to stay "In Range" even during moderate market volatility.
3% (For Volatile Assets and Memecoins)
The best choice for new tokens and memecoins. A wider step allows your liquidity "room to breathe," ensuring you continue to collect fees even during sharp price swings of tens of percent.
The Golden Rule of Selection:
The more stable the assets are relative to each other — the smaller the Bin Step should be.
The more aggressive the price action — the larger the step should be to avoid frequent rebalancing.
Think of the Bin Step as your "zoom" on the chart. Configure it wisely based on the token's character, and your bins will work for you 24/7!
Community chat | DEX | X | EN Channel | CIS Channel | Website